 |
| Stepford Pie |
And yeah, the food was BOMB.
I don't have recipes for everything that got eaten nor do I have photographs of everything (yet) but this will certainly be added to so that eventually most of the menu with recipes and photographs will be featured here.
Not to get all sappy on you but experiencing a landmark day in a foreign country with (mostly) foreign people really helped me think about what I'm actually grateful for, and not just my car and crap like that. As a true creature of comfort and habit getting out of my little bubble made me realize just how much I have to be thankful for every single day of the year. Plus I got to FaceTime with my best friend for the first time in months yesterday. A fantastic moment in an all-around fantastic day. Now without further ado...
Menu:
Herb roasted turkey with gravy
Vegan mashed potatoes
Sweet yams with crunchy granola topping
Classic green bean casserole
Ultra cheesy baconcentric mac and cheese
Cranberry orange relish
Vegan stuffing
Corn pudding with white cheddar and thyme
Apple pie
Dark chocolate pumpkin pie
Pie crust cookies
Golden grahams s'mores bars
Spiced peaches
A note about roasting a whole turkey: If you had success with roasting a whole chicken, you'll be just fine. Tommy and I got our bird sans head/feet/wings from our butcher but Tommy was tasked with the unhappy job of plucking the remaining feathers...and scooping out part of the esophagus. Glorious Europe. In any case, the recipe for a basic turkey is ridiculously simple. It just involves planning ahead. A stuffed turkey takes 20 minutes per pound to cook, an unstuffed turkey takes 16 minutes. Either way, a turkey needs to rest for at least 30 before carving to let all the juices set up. The temperature of the bird will continue to rise between 10 and 15 degrees F after it's out of the oven so keep this in mind, otherwise you'll have an overcooked bird. Tommy was in charge of carving and did a masterful job. Plus he looks really pretty in an apron.
 Ingredients:
1 16-18 lb. turkey
20 sprigs fresh parsley
20 sprigs fresh rosemary
20 sprigs fresh thyme
20 sprigs fresh sage
1 onion, halved lengthwise
1 head garlic, halved lengthwise
1/2 c. EVOO
Kosher salt and freshly ground black pepper
1. Set the turkey in a large, lightly oiled roasting pan. Shove all of the herbs, the onion and the head of garlic in the body cavity. Rub the skin all over with the olive oil and season well with salt and pepper.

2. Roast at 350 degrees Fahrenheit for 2.5-3 hours. If the skin of the turkey starts to look very brown, cover with foil.

To make the gravy:
Okay, so no one told me that making gravy is actually kind of hard. God bless Tommy, because he took over for me while I was mashing myself into a dress and painting my face in order to look like a real human being and not one that had spent the last 8 hours in a kitchen. I'm not really sure how he did it, but it turned out great. Here are the instructions that Food and Wine gives in order to make gravy. I didn't take pictures during the process because I was too busy incurring grease burns and wondering what the hell I was doing and if it would work. Also I probably would have dropped my camera into the stock pot.
Ingredients:
3 cups of stock (chicken or turkey)
3 tbs. butter
3 tbs. flour
1. Remove the turkey to a cutting board to let rest. Pour the pan juices from the turkey into a heatproof bowl and skim off the fat.
2. Set the roasting pan over 2 burners on high heat until sizzling. Add 1 cup of stock (chicken or turkey) and bring to a boil, scraping up any browned bits stuck to the bottom and side of the pan; add to the pan juices in the bowl.
3.In a medium saucepan, melt the butter. Add the flour and cook over moderately high heat for 1 minute. Add the pan juices and remaining 2 cups of stock to the saucepan and cook, whisking, until the gravy is thickened and no floury taste remains, about 5 minutes.
.JPG) Ingredients:
Ingredients:
.JPG) All right, I know what you're thinking: gross, vegan stuffing? Doesn't that go against all Thanksgiving traditions? But my answer is no, friends. You couldn't even tell that this stuffing is vegan and it tastes unbelievable too. My family usually gets the pre-cut, pre-seasoned breadcrumbs from McCormick but they don't have those in Spain so I did it myself with some seriously stale bread and fresh herbs and the result was far and away better than the packaged stuff. So while it does involve a little more work (and I did cut part of my thumb off while slicing the bread), the juice is ultimately worth the savory, delicious squeeze.
All right, I know what you're thinking: gross, vegan stuffing? Doesn't that go against all Thanksgiving traditions? But my answer is no, friends. You couldn't even tell that this stuffing is vegan and it tastes unbelievable too. My family usually gets the pre-cut, pre-seasoned breadcrumbs from McCormick but they don't have those in Spain so I did it myself with some seriously stale bread and fresh herbs and the result was far and away better than the packaged stuff. So while it does involve a little more work (and I did cut part of my thumb off while slicing the bread), the juice is ultimately worth the savory, delicious squeeze.
.JPG)
.JPG) Corn Pudding with White Cheddar and Thyme
Corn Pudding with White Cheddar and Thyme
.JPG)
.JPG)
So this is going to sound weird but I had never actually tried green bean casserole before this Thanksgiving. I think it's because my mother has an aversion to canned vegetables and also because she might have been force-fed one too many casseroles as a child of the 70s when everything was either a casserole, a Jell-o salad or both. One of my guy friends in the apartment building contributed the green bean casserole and it was thoroughly enjoyed by all and I guess is a really classic part of most Thanksgiving dinners. Chalk it up to the Suss family defying tradition at all cost.
Ingredients:
3 cans of green beans
1 can cream of mushroom soup (preferably Campbells)
Pepper to taste
1/4 - 3/4 c. milk (depending on how runny you like it)
1 can French fried onions
1. In a medium sized bowl, combine the soup, milk and pepper. Whisk to combine. Add the green beans and half of the fried onions.
2. Place in a casserole dish and bake at 350 Fahrenheit for 30 minutes. Remove from the oven, sprinkle the rest of the onions on and bake for another five minutes or until they start to brown. Serve hot.
.JPG)
.JPG)
 1 recipe flaky pie crust
 2. Pour mixture into the unbaked pastry shell. Place a strip of aluminum foil around the edge of the crust to prevent over browning.
 Pie Crust Cookies

.JPG) Ingredients:
Ingredients:
A note about roasting a whole turkey: If you had success with roasting a whole chicken, you'll be just fine. Tommy and I got our bird sans head/feet/wings from our butcher but Tommy was tasked with the unhappy job of plucking the remaining feathers...and scooping out part of the esophagus. Glorious Europe. In any case, the recipe for a basic turkey is ridiculously simple. It just involves planning ahead. A stuffed turkey takes 20 minutes per pound to cook, an unstuffed turkey takes 16 minutes. Either way, a turkey needs to rest for at least 30 before carving to let all the juices set up. The temperature of the bird will continue to rise between 10 and 15 degrees F after it's out of the oven so keep this in mind, otherwise you'll have an overcooked bird. Tommy was in charge of carving and did a masterful job. Plus he looks really pretty in an apron.
Herb-Roasted Turkey with Gravy
 Ingredients:
1 16-18 lb. turkey
20 sprigs fresh parsley
20 sprigs fresh rosemary
20 sprigs fresh thyme
20 sprigs fresh sage
1 onion, halved lengthwise
1 head garlic, halved lengthwise
1/2 c. EVOO
Kosher salt and freshly ground black pepper
1. Set the turkey in a large, lightly oiled roasting pan. Shove all of the herbs, the onion and the head of garlic in the body cavity. Rub the skin all over with the olive oil and season well with salt and pepper.

2. Roast at 350 degrees Fahrenheit for 2.5-3 hours. If the skin of the turkey starts to look very brown, cover with foil.

To make the gravy:
Okay, so no one told me that making gravy is actually kind of hard. God bless Tommy, because he took over for me while I was mashing myself into a dress and painting my face in order to look like a real human being and not one that had spent the last 8 hours in a kitchen. I'm not really sure how he did it, but it turned out great. Here are the instructions that Food and Wine gives in order to make gravy. I didn't take pictures during the process because I was too busy incurring grease burns and wondering what the hell I was doing and if it would work. Also I probably would have dropped my camera into the stock pot.
Ingredients:
3 cups of stock (chicken or turkey)
3 tbs. butter
3 tbs. flour
1. Remove the turkey to a cutting board to let rest. Pour the pan juices from the turkey into a heatproof bowl and skim off the fat.
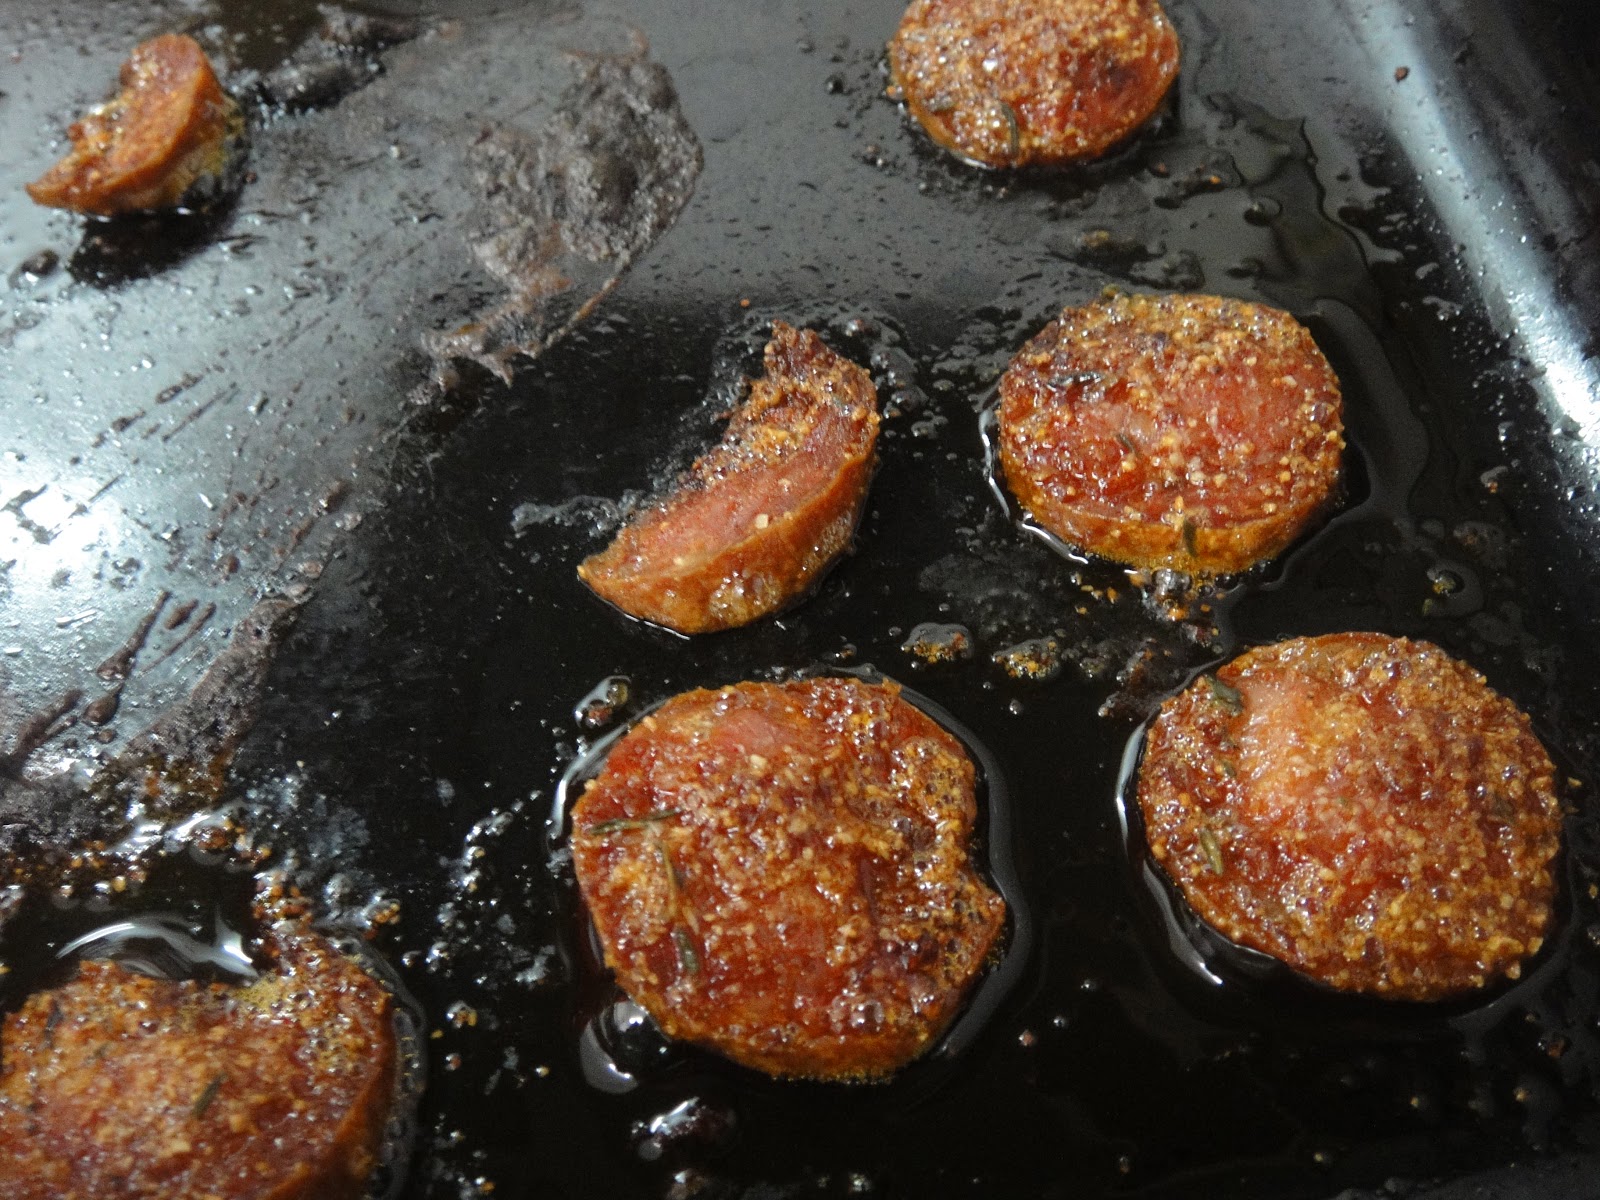
.JPG) |
| The aftermath. |
2. Set the roasting pan over 2 burners on high heat until sizzling. Add 1 cup of stock (chicken or turkey) and bring to a boil, scraping up any browned bits stuck to the bottom and side of the pan; add to the pan juices in the bowl.
3.In a medium saucepan, melt the butter. Add the flour and cook over moderately high heat for 1 minute. Add the pan juices and remaining 2 cups of stock to the saucepan and cook, whisking, until the gravy is thickened and no floury taste remains, about 5 minutes.
Ultra-Decadent, Baconcentric Mac and Cheese
At the last minute, Tommy decided he wanted to make something other than cranberry orange relish so he pulled out all the stops and whipped up this mac and cheese with an entire package of Oscar Meyer bacon in it. Needless to say, it was unbelievably delicious. Here's the caveat though, it doesn't reheat well at all. The cheesiness had utterly dissipated by lunch on Friday afternoon so you'd do best to eat this all the same night. Considering the ingredients are mostly animal by-products and pasta that have been baked into a gooey bubbling mess, I don't think it should be a problem
.JPG) Ingredients:
Ingredients:
1 pack of bacon
8 oz. pasta
1 onion, chopped
2 cloves of garlic, minced
3 c. shredded cheddar cheese (mix of yellow and white)
2 tbs. butter
3 tbs. flour
2 c. milk
1/4 c. breadcrumbs
1. Preheat oven to 350 degrees F (175 degrees C). Place bacon in a large, deep skillet. Cook over medium high heat until evenly brown. Drain, crumble and set aside.
2. In a large pot with boiling salted water cook pasta until al dente. Drain. While the pasta is cooking, saute in a medium saute the chopped onion, and minced garlic. Take off heat and add chopped cooked bacon and set aside.
3. To make the sauce, in a medium saucepan melt the butter over low heat. Once melted, add the flour and stir constantly for 2 minutes. Gradually add milk and continue stirring until thickened. Stir in 2 cups of the grated cheese and stir until melted.
4. Combine cooked pasta, sauteed vegetables and sauce. Pour into a 2 quart casserole dish. Add the last cup of grated Cheddar cheese to top of mixture as well as the breadcrumbs, sprinkled evenly over the top.
5. Bake uncovered in preheated oven until cheese on top is melted and brown, 15 to 20 minutes. Serve warm.
Vegan Stuffing
.JPG) All right, I know what you're thinking: gross, vegan stuffing? Doesn't that go against all Thanksgiving traditions? But my answer is no, friends. You couldn't even tell that this stuffing is vegan and it tastes unbelievable too. My family usually gets the pre-cut, pre-seasoned breadcrumbs from McCormick but they don't have those in Spain so I did it myself with some seriously stale bread and fresh herbs and the result was far and away better than the packaged stuff. So while it does involve a little more work (and I did cut part of my thumb off while slicing the bread), the juice is ultimately worth the savory, delicious squeeze.
All right, I know what you're thinking: gross, vegan stuffing? Doesn't that go against all Thanksgiving traditions? But my answer is no, friends. You couldn't even tell that this stuffing is vegan and it tastes unbelievable too. My family usually gets the pre-cut, pre-seasoned breadcrumbs from McCormick but they don't have those in Spain so I did it myself with some seriously stale bread and fresh herbs and the result was far and away better than the packaged stuff. So while it does involve a little more work (and I did cut part of my thumb off while slicing the bread), the juice is ultimately worth the savory, delicious squeeze.
Ingredients:
12 c. stale bread, cubed
1/2 tsp. each parsley, sage, rosemary and thyme
3 ribs celery, diced
3 medium carrots, sliced into rounds
1 c. mushrooms
Handful of cippolini onions (also known as pearl onions)
3 tbs. olive oil
Freshly ground pepper and kosher salt
4. c. vegetable stock
1. Mince all the herbs finely. In a large pan, saute all of the vegetables and herbs in the olive oil and season well with salt and pepper.
.JPG)
2. Combine the cubed bread and vegetables and mix well. Spread into a 2 quart casserole dish and pour the stock evenly over the top. Bake at 350 for 35 minutes and serve hot.
.JPG) Corn Pudding with White Cheddar and Thyme
Corn Pudding with White Cheddar and Thyme
Another Food & Wine classic, this corn pudding kicks your average corn-on-corn pudding to the curb with the addition of fresh thyme and white cheddar. I actually would have been fine with a little more thyme in the recipe because I couldn't really taste it all that much but it's up to you. The recipe is somewhat labor intensive but it can also be made mostly the night before. Just refrigerate it overnight (after step two) and bring to room temperature before you bake it.
Ingredients:
4 tbs. unsalted butter, plus more for greasing
1 onion, finely chopped
2 tsp. minced thyme
4 c. frozen corn kernels (about 20 oz.), thawed
1/2 c. stone-ground cornmeal
Kosher salt and freshly ground pepper
5 large eggs
3 c. half and half
1 c. shredded sharp white cheddar cheese
1.
Preheat the oven to 350°. Butter a 9-by-13-inch
shallow ceramic baking dish. In a large skillet, melt the butter. Add the onion
and thyme and cook over moderate heat until the onion is softened, about 8
minutes.
.JPG)
Remove from the heat. Add the corn and cornmeal and toss to combine. Season with salt and pepper and let cool.
.JPG)
Remove from the heat. Add the corn and cornmeal and toss to combine. Season with salt and pepper and let cool.
2. In a large bowl, whisk the eggs with the
half-and-half. In a blender or food processor, combine 1 cup of the custard
with 1 cup of the corn mixture and puree until smooth. Whisk the puree into the
custard. Then stir in the corn mixture, cheese, 2 teaspoons of salt and 1/2
teaspoon of pepper until well blended.
.JPG)
.JPG)
3. Spread the mixture in the prepared baking dish
and bake for about 40 minutes, until the pudding is slightly puffed and just
starting to brown. Let stand for 10 minutes before serving.
Cranberry-Orange Relish
This was my favorite thing we had at Thanksgiving dinner. The recipe comes from Tommy's mom and is fantastically simple and delicious. I want to eat this stuff every morning: plain, on toast, in my oatmeal. Too bad it has an entire cup of sugar in it...wonk. This is something you need to make ahead of time because it's best when all the flavors dance around in that Tupperware for a few days resulting in a glorious red-orange combination. By the way, a single cup of cranberries in Spain will run you almost 5 euros so be thankful you can get them by the frozen bushel for like 80 cents a pound at Costco. This is utterly fantastic on a leftovers sandwich by the way.
Ingredients:
2 c cranberries
1 c sugar
1/2 orange, seeded
1. Combine all ingredients in a food processor and chop into small pieces but do not blend. Let sit for a day or two in the fridge to let all the flavors combine.
Vegan mashed potatoes
One of the girls who lives in my apartment building can't eat dairy at all, like not even a little bit, so she volunteered to make the mashed potatoes for Thanksgiving dinner so that even the diet-restricted could enjoy them. This pleased me as I can't eat regular mashed potatoes either as the main ingredients are potatoes, butter and heavy cream. Andrea's vegan mashed potatoes were UNREAL. You would never know that they were vegan or that they had cauliflower in them. I don't know how the girl did it because they were silky smooth and perfect. She used 20 potatoes and a whole head of cauliflower to make mashed taters for a crowd so I'm going to downsize the recipe here a little bit. Feel free to substitute vegan spread for margarine or butter if that's your thing. Also feel free to include more or less garlic. Either way, these were some unbelievably tasty mashed potatoes and it was great to be able to eat them and not have to worry about getting sick later.
Ingredients:
6 potatoes, peeled
1/4 head cauliflower
2 cloves garlic, minced
3 tbs. vegan butter spread
1/4 c. soy creamer
Kosher salt and pepper to taste
1. Boil the mashed potatoes and cauliflower until they are soft to the touch, about 10-15 minutes (depending on the size).
2. While the veggies are boiling, saute the garlic in the butter spread until translucent. Add the soy creamer and whisk well.
3. Combine the potatoes and cauliflower in a food processor and puree (or mash by hand) while slowly adding the liquid ingredients. Season to taste with Kosher salt and pepper.
The "Classic" classic green bean casserole
So this is going to sound weird but I had never actually tried green bean casserole before this Thanksgiving. I think it's because my mother has an aversion to canned vegetables and also because she might have been force-fed one too many casseroles as a child of the 70s when everything was either a casserole, a Jell-o salad or both. One of my guy friends in the apartment building contributed the green bean casserole and it was thoroughly enjoyed by all and I guess is a really classic part of most Thanksgiving dinners. Chalk it up to the Suss family defying tradition at all cost.
Ingredients:
3 cans of green beans
1 can cream of mushroom soup (preferably Campbells)
Pepper to taste
1/4 - 3/4 c. milk (depending on how runny you like it)
1 can French fried onions
1. In a medium sized bowl, combine the soup, milk and pepper. Whisk to combine. Add the green beans and half of the fried onions.
2. Place in a casserole dish and bake at 350 Fahrenheit for 30 minutes. Remove from the oven, sprinkle the rest of the onions on and bake for another five minutes or until they start to brown. Serve hot.
Dark Chocolate Pumpkin Pie
At my family's Thanksgiving dinner, I'm always in charge of the dessert. No matter what, I make a pumpkin pie but recently I've been branching out to things like blueberry pie and a truly heinous pumpkin spice rice pudding with brandy-soaked cherries. Ugh. Anyway, this year I found a recipe for chocolate-swirled pumpkin pie on Food & Wine (obviously) and it looked unreal...and it was. Unquestionably the best pie I think I've ever made, or eaten. Not to toot my own horn. I'll include the recipe for traditional pumpkin pie here as well. The secret to my family's pumpkin pie is the addition of good maple syrup. It gives the flavor an extra push and even my friends in Alicante who said they usually don't like pumpkin pie were heavy into this one. I also learned how to cook fresh pumpkin since the whole of Spain was out of the canned variety and I'm glad I took the plunge because the flavor was so much sweeter and more intense that it was worth practically ruining our strainer and incurring a serious steam burn. Basically all you have to do is steam the pumpkin over boiling water for about 45 minutes or until it's totally mush and then beat it a little bit to make sure there are no lumps. Easy as...
.JPG)
Ingredients:
4 large eggs
3/4 c. sugar
1 tbs. cornstarch
2 tsp. cinnamon
1/4 tsp. cloves
Pinch of salt
1 15-oz can pumpkin puree
1 recipe pie dough (double if making pie crust cookies -- see below)
1/2 c. heavy cream
3 oz. bittersweet chocolate, melted and cooled slightly
*I used more than 3 oz. because I brushed the bottom of the crust with more melted chocolate because I though a higher caloric content was necessary.
1. Follow the instructions for making flaky pastry crust/pie dough. Preheat the oven to 350 degrees Fahrenheit. On a lightly floured surface, roll out the dough to a 13-inch round a scant 1/4 inch thick. Fit the dough into a 9-inch glass pie plate. Trim the edge to 3/4 inch; fold the dough under itself and crimp decoratively. Refrigerate the pie shell for 10 minutes.
2. Line the pie shell with foil and fill with uncooked rice. Bake in the center of the oven until nearly set, about 25 minutes. Remove the foil and weights and bake until the crust is pale golden, about 10 minutes longer. Let cool slightly.
3. In a medium bowl, whisk the eggs, sugar, cornstarch, cinnamon, cloves and salt until smooth. Whisk in the pumpkin puree, then the cream. If you're going to brush the bottom of the crust with chocolate, now's the time to do it.
4. Transfer 1 cup of the filling to a bowl and whisk in the melted chocolate. Working near the oven, pour the rest of the pumpkin filling into the crust. Dollop the chocolate filling on top and swirl it in with a butter knife.
.JPG)
5. Bake the pie for about 45 minutes, until the custard is set. Cover the crust with strips of foil if it browns too quickly. Cool the pie on a wire rack completely before serving.
Maple Pumpkin Pie
Ingredients:
 1 recipe flaky pie crust
1 15-oz. can pumpkin puree
1/4 c. maple syrup
1 12-oz. can evaporated milk
2 eggs
1 c. packed light brown sugar
1 tbs. flour
1/2 tsp. salt
2 1/2 tsp. pumpkin pie spice
*Or 2 tsp. cinnamon, 1/8 tsp. nutmeg, 1/8 tsp. allspice, 1/4 tsp. ground ginger
1. In a large bowl, slightly beat eggs. Add brown sugar, flour, salt, pumpkin puree, pumpkin pie spice, maple syrup and evaporated milk. Stir well after each addition.
 2. Pour mixture into the unbaked pastry shell. Place a strip of aluminum foil around the edge of the crust to prevent over browning.
3. Bake 10 minutes at 450 degrees Fahrenheit then reduce the oven temperature to 350 degrees Fahrenheit. Bake an additional 40 to 50 minutes, or until a toothpick inserted near the center comes out clean. Remove the strip of foil about 20 minutes before the pie is done so that the edge of the crust will be a light golden brown. Cool pie completely on a wire rack and serve with fresh whipped cream.
 Pie Crust Cookies
A friend of mine in Alicante told me about these fantastic little cookies that are a great way to use up spare pie dough (or placate the non-pie eater in your life at holiday time). You could totally use a cute cookie cutter to shape these but I just use a drinking glass. The key is to not overbake these little suckers. They're good when they're crispy but not as tasty when slightly burned.
Ingredients:
1 recipe pie crust
1/4 c. white sugar
2 tsp. cinnamon
1. On a lightly floured surface, roll the pie crust out to about 1/8" thickness and cut into circles//hearts/stars/rainbows/clovers/blue moons.
2. Mix the sugar and cinnamon together in a small bowl. Sprinkle generously on top of the cookies. Bake at 350 degrees Fahrenheit for about 8 minutes, or until cookies are golden brown.

Spiced Peaches
One of the girls who came to dinner brought spiced peaches for a lighter dessert option. I had also made spiced peaches earlier in the week and I combined the two recipes to make this one. I eat them for breakfast heated up but you can also smother them in lightly sweetened whipped cream and call it a day.
.JPG) Ingredients:
Ingredients:
5 large peaches, peeled and diced
1 tsp. cinnamon
1/8 tsp. nutmeg
2 tbs. honey
1 tbs. fresh lemon juice
1 tbs. fresh lemon juice
1. Combine all ingredients in a small pot and simmer over medium heat for 10-15 minutes or until fragrant, stirring often. Serve warm.


.JPG)
.JPG)
.JPG)
.JPG)
.JPG)
.JPG)
.JPG)

.JPG)
.JPG)
.JPG)
.JPG)