Okay okay, I know I'm the worst blogger ever but it was finals week in Spain too so cut me some slack. Anyway, now I'm going to fill you in on the edible portion of my very cold weekend in London which was also the last of my trips during my time in Spain.
Wait, WHAT?
In unrelated news, I'm living through denial so Gina Spinelli if you're reading this COME BACK TO ME. And I know you're reading this because you are faithful to me and like food.
Fear of goodbyes aside, London was incredible. Freezing cold, but incredible. I could stay there a week and not get bored. I might just go broke and/or freeze to death. I wore leggings under my jeans in order to keep warm and two things happened.
The first is that I had difficulty bending my joints.
 |
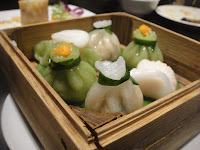
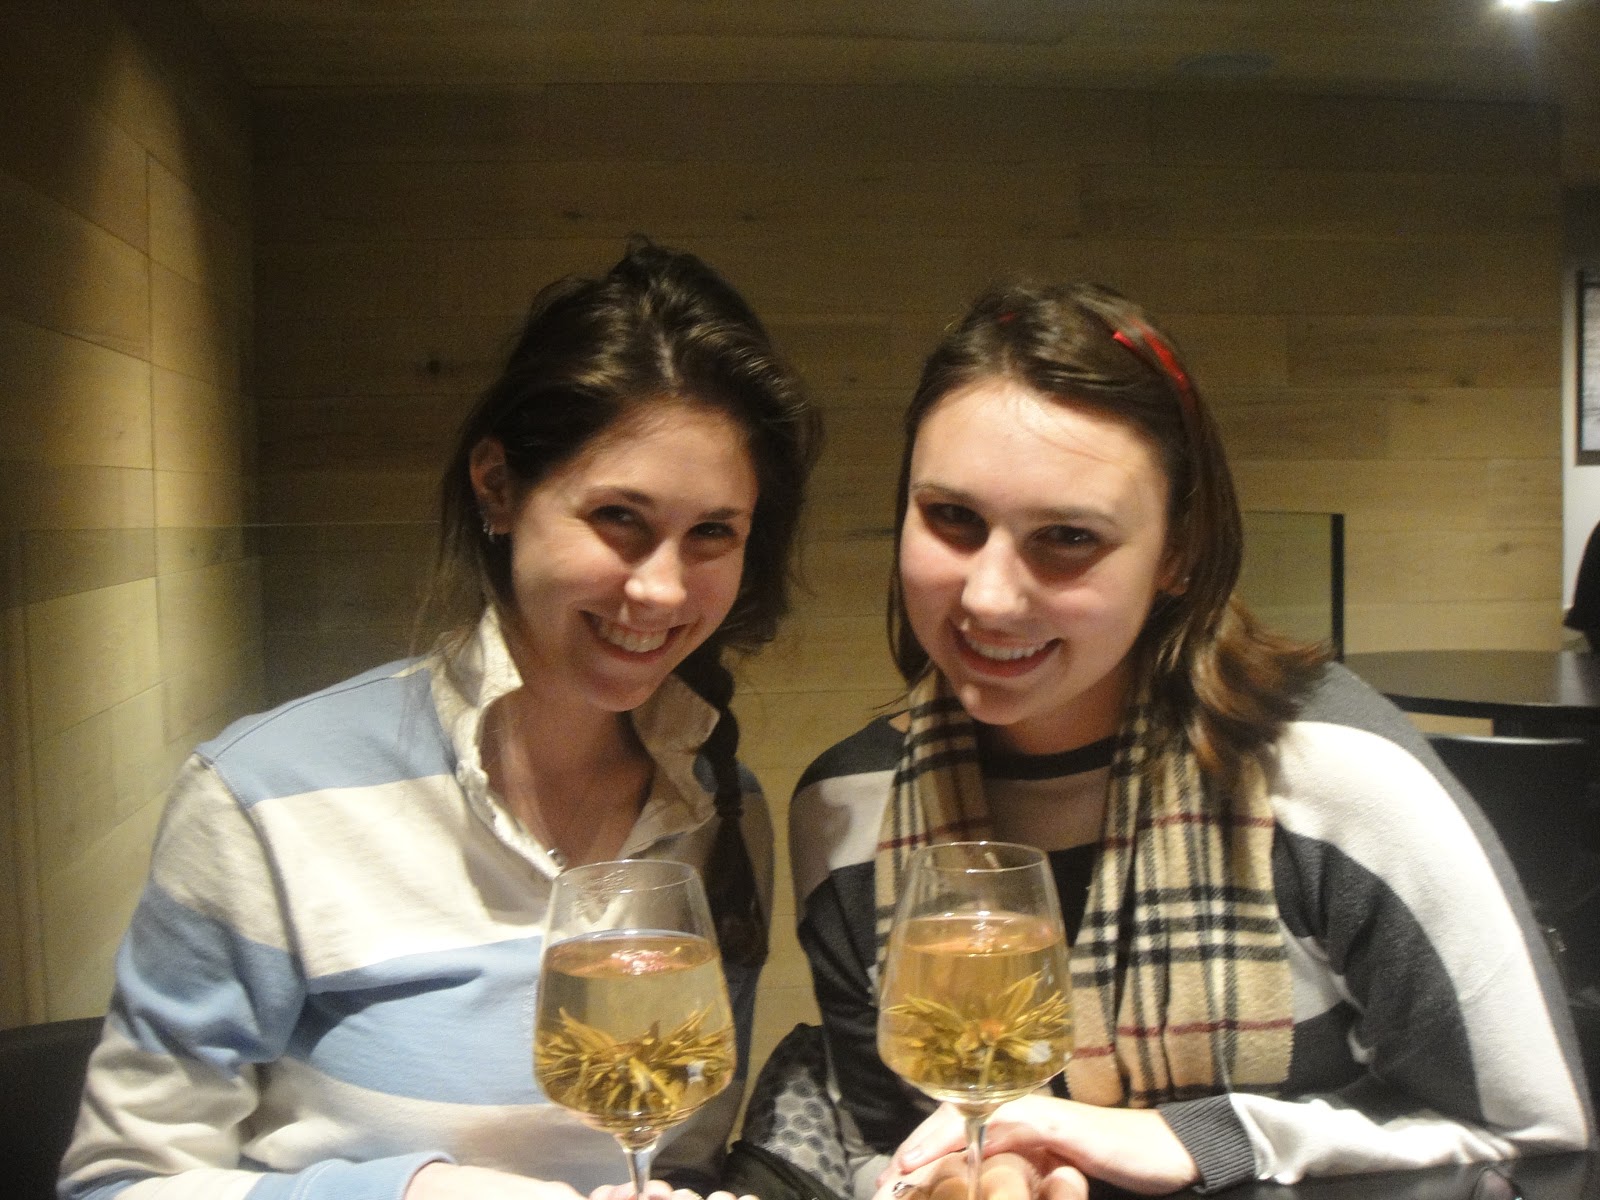
| Blooming tea with friends at dim sum. |
The second is that I found out what I would look like if I had an ass.
ANYWAY, food in London is no longer just stodgy puddings and Yorkshire things with "crackling" whatever that is. I think it might be deep-fried fat but I'm not sure. Tommy and I had some incredible Thai food and more than a few plates of incredible dim sum. We also did the classic pub food thing (well, Tommy did) and sampled fish and chips with mushy peas. They didn't come wrapped in newspaper but I guess you can't have everything.
We also wandered the exquisite food halls of Fortnum Mason and Harrods which were every food-related wet dream I have ever had rolled into one, beautifully decorated, seasonally appropriate ball.
So okay, from the beginning:
.JPG)
Tommy and I knew off the bat that we needed to go get some food with actual spice since Spaniards seem to have a fear of crushed red peppers. I wanted pad Thai and was willing to stop t almost nothing to get it and luckily for us there was a Thai restaurant about 10 minute's walk from our apartment called Busaba Eathai. It was pretty packed already and smoky with the good kind of incense (not the kind that smells like Occupy Wall Street protesters and patchouli) and we were all kinds of ready to chow down on our first exotic cuisine in months.
.JPG)
We ordered quickly: Thai calamari, green curry rice and chicken for Tommy and vegetarian Pad Thai for me as well as a virgin (that was the only way they offered it) grapefruit mojito and a coconut water with lychee.
.JPG)
Service was relatively quick and the food was AWESOME. Best calamari I've ever had, hands down. It was perfectly chewy and crispy and lemony and garlicky and basil-y and a little bit sweet. Give me more right now.
Tommy's green curried rice was really good with some nice heat to it but the chicken was totally ordinary and definitely paled in comparison to the way the rice soaked up the spicy-sweet flavor of the curry.
My vegetarian Pad Thai was also really good, with fresh green beans and baby broccoli mixed liberally with the noodles and bean sprouts. It wasn't super greasy which I really liked but it still wasn't as good as the classic Pad Thai from
a restaurant near my house.
The coconut water was super refreshing and the lychee was evident and sweet but not overpowering. The mojito I thought was only okay because I'm not wild about the mint-grapefruit combo but Tommy really enjoyed it.
We capped off the evening with a cold tapioca dish that involved the best coconut ice cream I've ever had and some seriously delicious blackberry puree. The tapioca actually tasted a little salty to me at first which I wasn't so sure about but it married nicely with the sweetness of the ice cream and the tang of the berry puree.
Onto Fortnum and Mason's and Harrods because they aren't really indistinct enough to be their own separate paragraphs. Basically I just wanted to buy everything I saw including some Waygu beef from Harrods that was like over 100 pounds (currency) per ounce or something ridiculous like that. Being that it's holiday season however, there were just far too many people around for it to be a fully enjoyable experience. I did buy Tommy a chocolate macaron at F and M so he would stop whining about the macaron
I ate in Barcelona and didn't share with him. Tommy returned the favor by buying us three beautiful, seriously overpriced chocolates at Harrods and we were thoroughly disappointed.
.JPG)
We bought a pink champagne truffle, a coffee truffle and a Drunken Sailor which had rum and candied orange peel in it. I hated all three. The pink champagne truffle didn't taste a bit like champagne, ditto the coffee truffle not tasting like coffee. The Drunken Sailor was so alcoholic it didn't even taste good and the candied zest bits were soggy. And these three chocolates cost poor Tommy about 7 US dollars. Hideous.

Anyway, the second night we went and got dim sum with one of Tommy's friends from BU and it was so freaking good. We ordered almost exclusively off the appetizer page and ended up with: pineapple spare ribs, chicken and mango spring rolls, crab wontons, a bento box of surprise and fried rice with steamed shrimp and pork.

Ugh yum.
Best spare ribs I've ever had in my life, falling off the bone tender with this sauce that was perfectly sweet and savory at the same time. The pineapple kind of fell off but it was still good since it was soaked in the same sauce. I'd like a full rack of those now please.

The crab wontons and the spring rolls weren't really my favorites because they were a bit greasy for my taste and lacking in flavor but the mango sauce that came with the spring rolls was truly tasty and I could have eaten it with a spoon.
The fried rice was really flavorful by contrast with lots of small shrimp and chunks of chewy pork as well as fresh veggies and eggs.

The surprise bento box had a mixture of veggies (ginger, scallion, eggplant, carrot etc) and king prawn inside the same kind of wrapper that pot stickers are in. I think the king prawn package dipped in some spicy sauce was one of my favorite things I ate all trip.
The last night we found a cool little out of the way pub so Tommy could get some fish and chips. I couldn't eat anything I wanted on the menu since it was all deep fried but it was fine. Tommy's fish was a nice big serving of flaky white fish that was expertly breaded, not clumpy at all. There were some bones going on but not too many. The chips were sort of average and the mushy peas were totally boring. Like literally, just overcooked peas as far as I can tell. Yawn.
.JPG)
We also ordered an English pudding which seemed pretty advanced for the simplicity of the pub we were in. It started with a layer of apple-rosemary compote on the bottom followed by creme fraiche and topped with blackberry curd and crushed amaretto cookies. I know this sounds like a revolting combination but it all really worked nicely. The tartness of the creme fraiche played against the blackberry curd and the savory flavor of the rosemary added a cool level of depth while the amaretto cookies brought in some much needed crunch.

That's pretty much all of the culinary offerings we managed to sample in London but we also braved wine gums (taste like vegetables) and devoured way too much Cadbury Milk (better than Godiva).
Now it's time for our final dinner of lamb chops and champagne and off to the good old U S of A bright and early tomorrow.
Holy shit.
 So I spent all yesterday and a good portion of today thinking about what I wanted to post tonight. I thought about homemade fried rice (coming soon to a blog near you) or these bizarrely awesome vegan banana bites (the key is lots of dark chocolate). But in the end I settled on this recipe I happened upon in the dusty depths of my computer for coconut lime chicken. It sounded easy and pretty tasty and I thought it might photograph well.
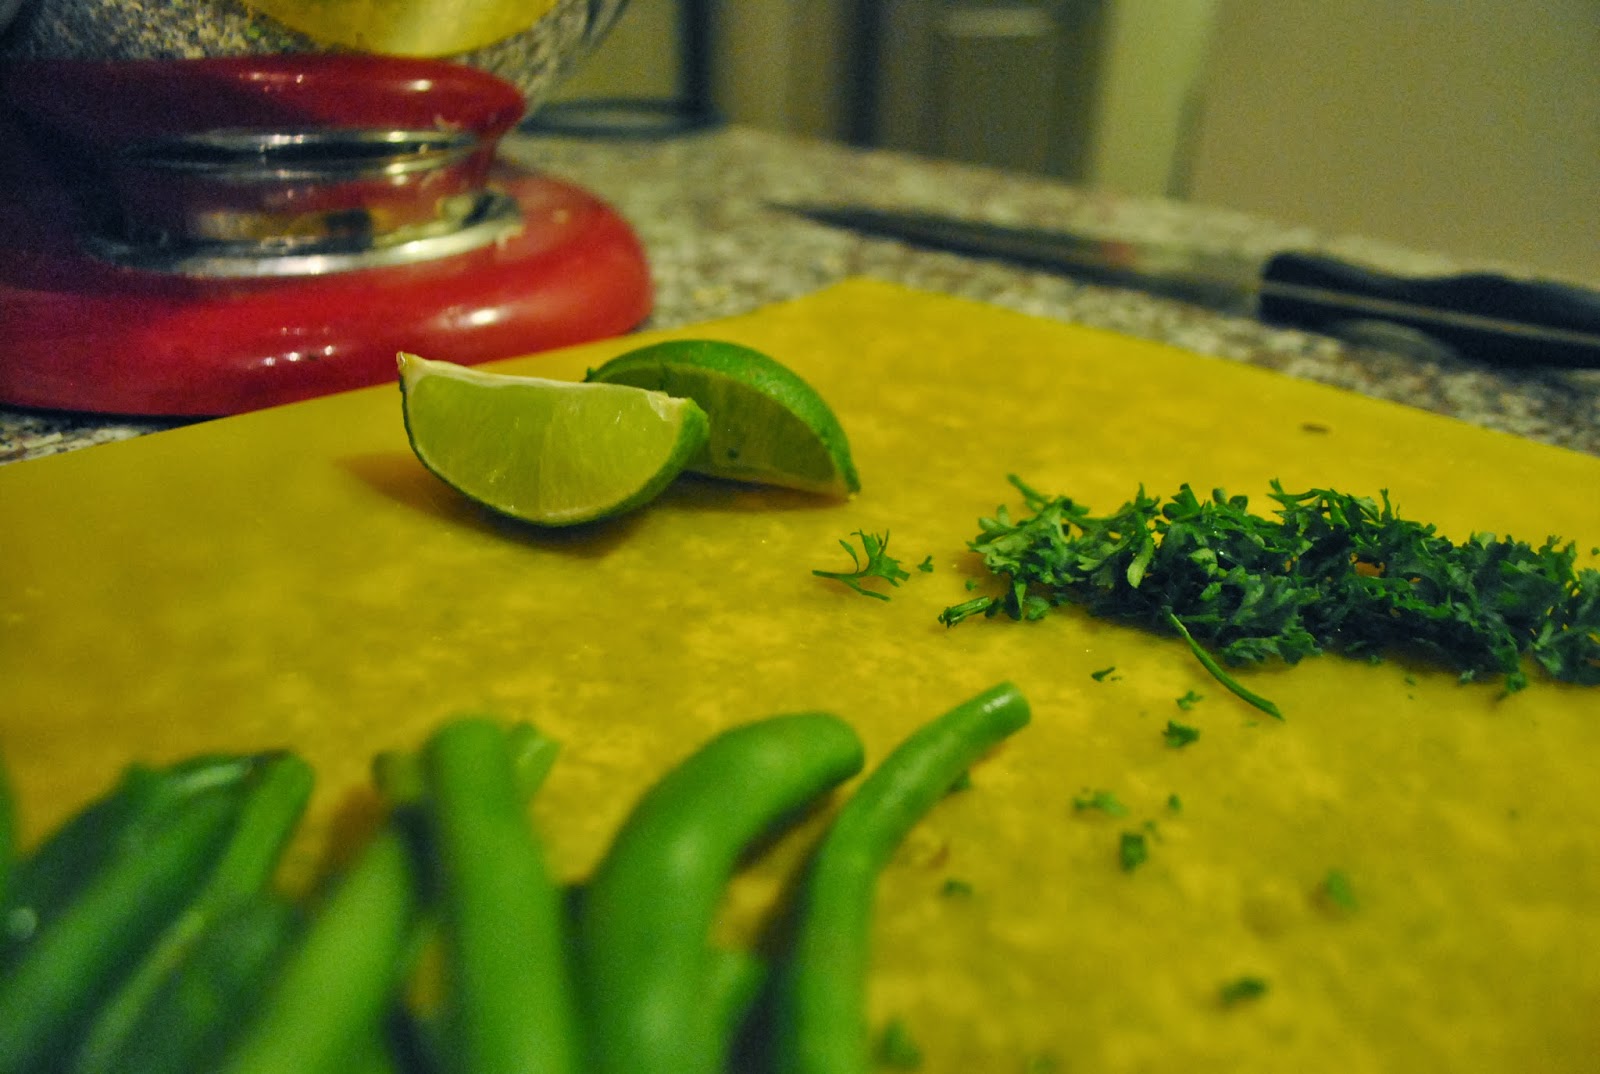 And I don't really have a third but as I was walking into the store this woman was in labor in one of the lanes of cars. Poor kid, imagine taking your first breaths in the parking lot of a Prince George's county Giant supermarket. Certainly a cut above Shoppers, but still. Not exactly a great start.
 1. Trim the fat from the breasts or tenderloins and pat dry.


.JPG)
.JPG)

.JPG)
.JPG)
.JPG)
.JPG)
.JPG)
.JPG)
.JPG)


.JPG)


.JPG)
.JPG)
.JPG)
.JPG)
.JPG)
.JPG)
.JPG)
.JPG)
.JPG)
.JPG)


.JPG)


